Wednesday, July 15, 2015

Blog Abandonment and Where to Find Me

Obviously, I haven't really been doing this blogging thing lately. It's been very nearly a year, and I think that pushes things over the line from "blog break" to "blog abandonment." I still don't plan on this being a forever goodbye to this space, but I also don't have a plan to come back to it any time soon. 

If you're still interested in seeing what I'm up to these days (including lots of sewing, cooking, gardening, and adorable children), I'd love to connect on Instagram! I'm dilettantesarah over there...let's be friends. ;)

Check me out on Instagram! 
Instagram

Friday, September 5, 2014

Ahhhhhhhhh!!!


I made Quinn this little monster guy for his first birthday. (One! My baby is one! Oh my goodness!) He could not care less about it, much preferring to spend his precious time putting small inedible items in his mouth, but Adelaide loves it and has adopted it for now.


It's the Koji pattern from the Wee Wonderfuls book. I challenged myself to work only with what I had on hand for this project. The corduroy is from an old pair of Adam's pants. I have so many old clothing items sitting around waiting to be fabric-harvested, so this made me very happy. The wool felt is left over from when I made Adelaide some play food a couple of Christmases ago. And the argyle quilting cotton has been sitting on my shelves for years.


The pattern came together nicely and didn't take too much time. It's sturdy. And kinda cute, despite the wonky facial expression it ended up with. (I tried to get that mouth on straight, I really did, but...)


I have to keep reminding Adelaide that she can't keep Koji forever. Someday Quinn might actually want him. So she's requested one of her own.

Friday, August 29, 2014

Do-it-yourself deodorant

Is this something I've blogged about before? It might be. But I've tweaked my recipe and my method, so here we go (again?): Homemade Deodorant.


It's at this point that you're thinking either "Yes! Awesome!" or "WTF? Gross." If it's the latter, I hear you, but stick with me for a few while I attempt to change your mind.

It is cost-effective. What does "regular" deodorant cost these days? I'm honestly not sure because it's been so long since I bought it, but I'm thinking it was upwards of $3 per unit a few years ago. And if you get fancy hippie deodorant, it's even more expensive. The ingredients for homemade deodorant aren't expensive and you can make a ton of deodorant with your relatively small investment or use the extra ingredients (coconut oil! baking soda!) in your kitchen or for other body products.

It is quick easy. It seriously only takes a few minutes and you are not going to screw it up. I think it's easier to whip up a batch when I run out than it was to remember to stock up at the grocery store in a timely fashion.

It's good for you. The ingredients aren't going to creep you out. There's no debate over carcinogens or hormone disruptors or blah blah blah. If you're like me, you stress out over this stuff sometimes...and now there will be one less creepy mass-merchandised body product to stress out over.

Of course, none of the above is going to sway you if the stuff doesn't work, and this is where many of you will be skeptical. You don't want to be stinky. Well, I don't want to be stinky either, and I love this stuff. Of course, if you're used to using antiperspirant, this won't be what you're used to. You will still sweat. But, hey, your body needs to sweat. Sweating is healthy. But this deodorant will keep you from stinking. Cross my heart.

So let's roll...


Homemade Deodorant

Ingredients 
1/3 cup baking soda
1/3 cup arrowroot powder
10 drops tea tree oil
1/3 cup coconut oil
1/2 teaspoon shea butter
1/2 teaspoon beeswax

Directions
In a small bowl, mix baking soda, arrowroot powder, and essential oil.

In a small pan, add coconut oil, shea butter, and beeswax. Melt over low heat, stirring often.

Once the mixture is melted, remove from heat and pour over powdered mixture. Stir thoroughly and pour into jar. Leave lid off until cool.

To use: Apply a small amount to each armpit with your fingers. I like to let it dry a couple of minutes before putting my shirt on, but that's not really necessary. If it is very hot outside and mixture is too liquid, keep it in the fridge for some extra nice armpit cooling.


Thursday, August 7, 2014

gleeful on-the-go romper


This is Quinn's Gleeful On-the-Go Romper. I sewed it up for Kids Clothes Week, and I even took photos of it right away. The delay from that step to this one is inexplicable, but I'm going to take a leap and blame the children. Cool? Cool.


I love babies in rompers. L-O-V-E! I based the top on the envelope neck tee from the Growing Up Sew Liberated book. I drafted the bottom half based loosely on a romper Quinn already has. I fussed around trying to figure out the crotch snap situation for awhile, finally settling on sew-in snaps.


And, you guys? It totally worked out! The romper fits! It's cute! The snaps hold! It seems like the boy is comfortable! High-fives all around!

The photo shoot, though...O.M.G. It mostly looked like this...


Or this...


And then we got photo-bombed. Puppy on the loose! (Don't worry. We made sure it got back to our neighbors safely.)


Oh, and another thing I love: this fabric. It's one of the knits from Caroline Hulse's Gleeful collection for Art Gallery Fabrics. So cute! I wanted to make Quinn something for Kids Clothes Week that fit the Kid Art theme, but I didn't feel like letting the baby loose with any art supplies. I figured fabric with a bit of a kid-art vibe was the way to go, and I immediately thought of these adorable and sunny doodle lines. I stalked various online fabric shops hoping to be able to order it in time for my KCW sewing, and it was available just in time! Hooray! (I ordered it from Hawthorne Threads, and it came super quickly. I was so excited.)


Friday, July 25, 2014

KCW Days 1-4: Adelaide's Wild and Free Geranium Dress

kid's clothes week


The first thing that came to mind for me when I learned that this week's theme is "Kid Art" was letting Adelaide loose with some fabric paint. She gets some art project fun, I get some adorable hand-painted fabric, and we get to collaborate on making something in the sewing room. Win, win, win.


She did an awesome job with her fabric painting (no bias here, nope, not at all). There was no end project in mind when I doled out the materials. I picked this mystery fabric out of the remnant bin at JoAnn Fabrics ages ago. It's got a linen-ish thing going on, but I don't know what it actually is. Looking at my stash, this is what seemed best suited for a three-year-old's experimental fabric painting. I really let Adelaide do her own thing with the fabric paint, though I tried to keep about three colors in her tray at a time to avoid having everything turn to brown from overenthusiastic color mixing. 


Her finished piece definitely had a border-print vibe, and my mind went straight to the Geranium Dress pattern. I asked her what she wanted to make with the fabric, and she didn't know, so I made the suggestion and she agreed. 


The bodice is some chambray from another project. It happened to match some of the paint perfectly.


Adelaide even picked the buttons herself.


As I've mentioned here before, Adelaide isn't one for fussy clothes. I have to make a real effort to not treat something like this too preciously or she will NEVER wear it. I have to check myself: what is the point of a kid having clothes if I'm going to get bent out of shape when they get grass stains or ice cream on them? I'd a million times rather her wear something lovely and stain it (or rip it) than never wear it. She's my rough-and-tumble, garden-loving girl, so if she can't wear something for all that entails, it's not worth making. 

So here she is, watering the garden in her brand new dress. Perfectly Adelaide.

Tuesday, June 24, 2014

Gingham Portfolio Top


I'm back with a little selfish sewing today. I made my first Simplicity 2245 Lisette Portfolio Tunic. This pattern has been covered extensively all over the internet already, so I'm not going to bore you with too many details.


I made a top for my first go-round. Of course, this means the coolest feature (the awesome front pocket structure) is missing, but I wanted to check the fit before committing the extra time and fabric on a dress version. I'm glad I did, because I don't feel like the chest fit is quite spot-on yet.


I did add a little length (2 inches, I think), because I like my tops to be a little on the long side. That was definitely a wise choice, because I wouldn't wear this if it were any shorter.


And if I'm ever again thinking of making this pattern in gingham, please stop me. The pattern matching is not possible (or maybe it is, but don't tell me about it, because I don't want to know that it's just me) -- I made some effort but eventually gave up -- and the non-matching kind of drives me bonkers.

Overall, I'm fairly happy with this top, though. It's not perfect, and I'd investigate a few tweaks before making it again to see if I could make it a bit more flattering, but it's comfortable and breezy and I'm a sucker for gingham. It's a good just-a-bit-dressier-than-a-T-shirt summer option.


Tuesday, June 17, 2014

Pajamarama


I like sewing pajamas for the kids. There are just so many upsides:

1. Instant gratification: Most pajamas are a pretty quick sew. They're not complicated. They don't involve a lot of extra fuss. Some rather basic knit or woven fabric, a bit of elastic, and half an hour...ta-da!

2. Low-pressure sewing situation: They're pajamas, so they don't have to be perfect. As long as they're comfortable and don't fall apart, it's a win. Cute is a nice bonus, but if it doesn't work out, I'll live.

3. Frugality: The pajamas in the post were really inexpensive to make. Like free (well, unless you factor in my time, but even that wasn't a lot). Pajama sewing is perfect for recycling old grown-up clothes. It's not always (or even that often) that sewing is really "cheaper" than buying (not that it should be or needs to be!), and it's a nice bonus when I can make a summer pajama wardrobe for nothing rather than shelling out $ at Old Navy or Target or some other god forsaken hell hole.

4. Guaranteed wear time: Sewing for the kids is a risk. I've made some cute things that live exclusively in the closet. BUT! Take the number of pajama items in Adelaide's drawer, factor in the tossing turning toddler sweat and the spilled breakfast items, and multiply by the (ir)regularity of my laundry routine. All the jammies get worn at some point. ALL OF THEM.

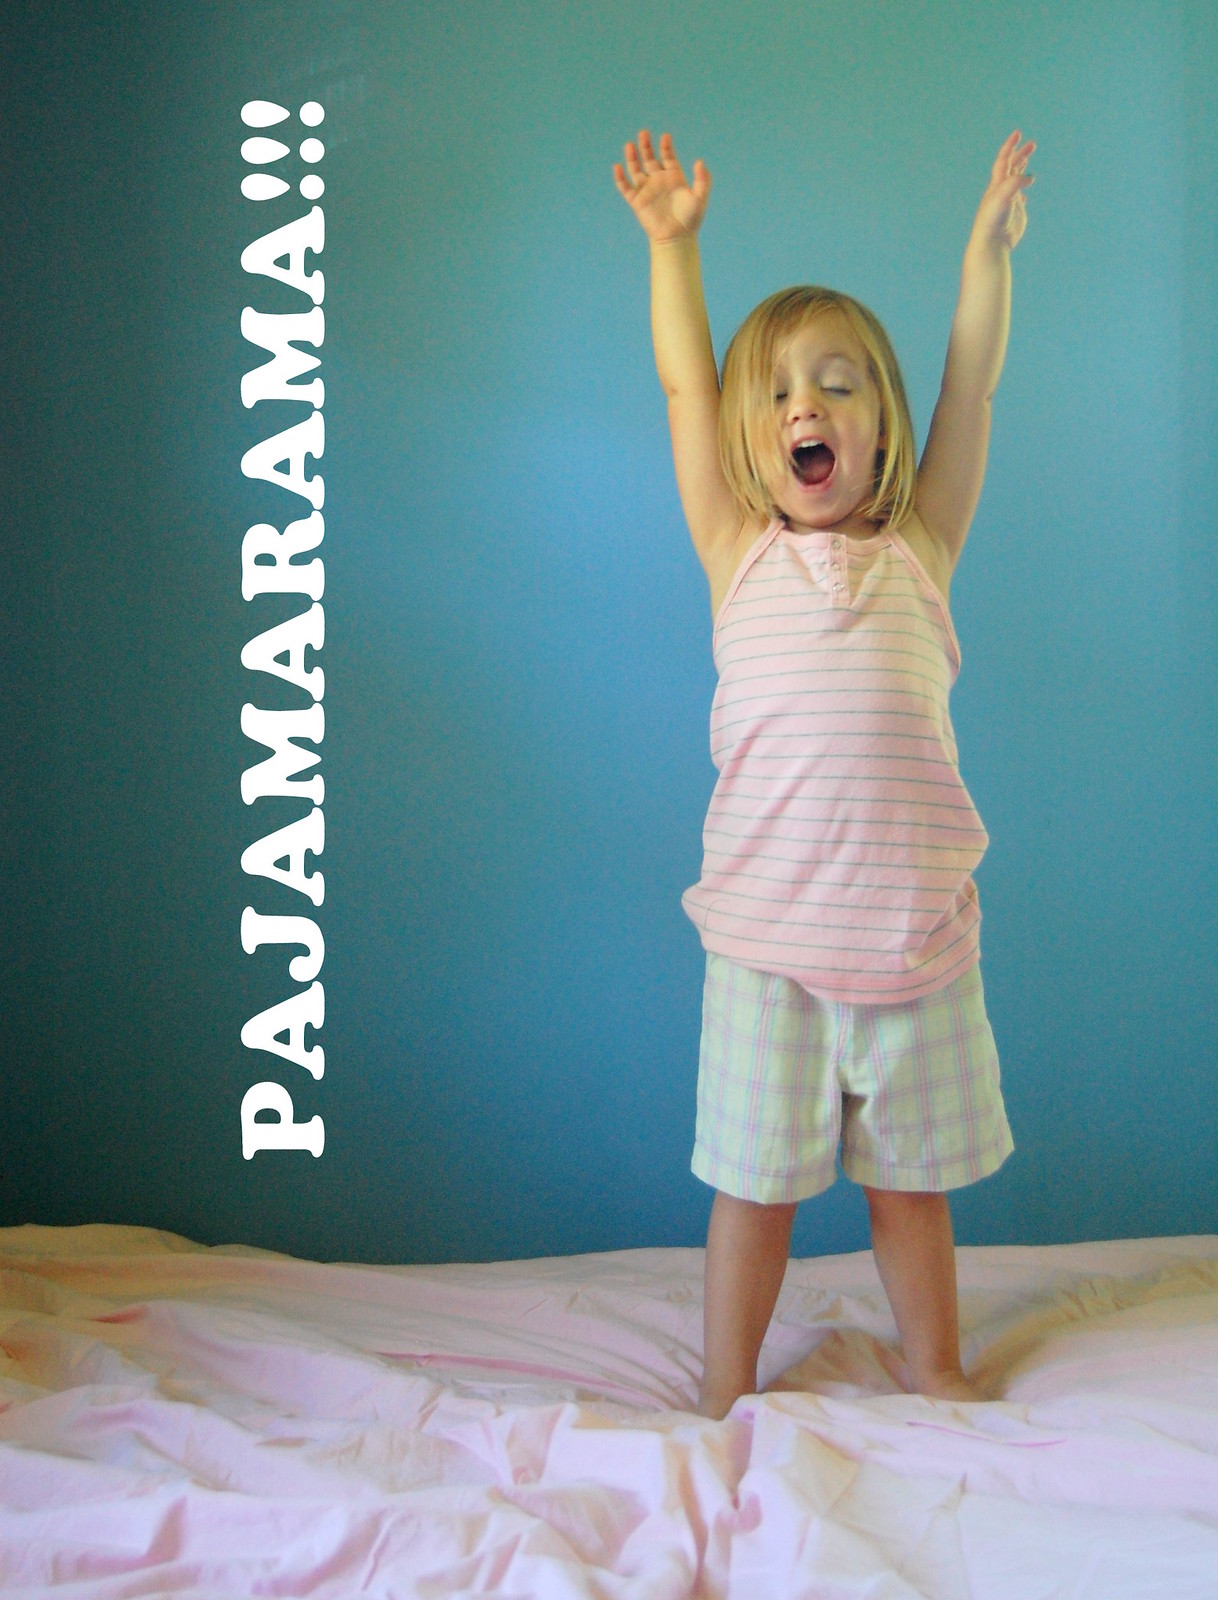
Okay, on to the show-and-tell.


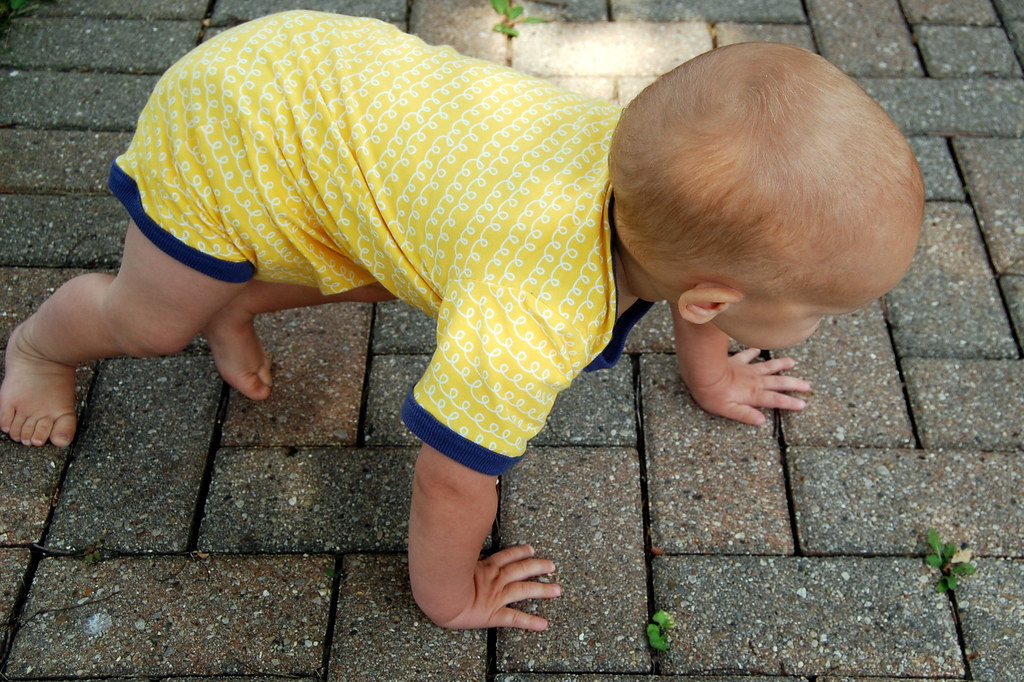
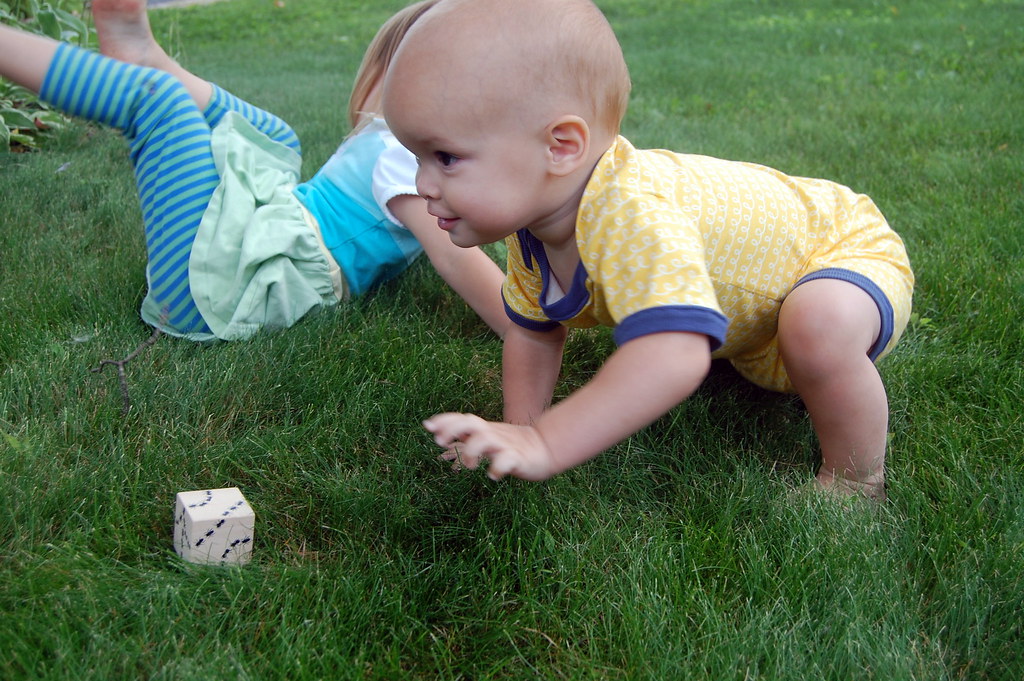
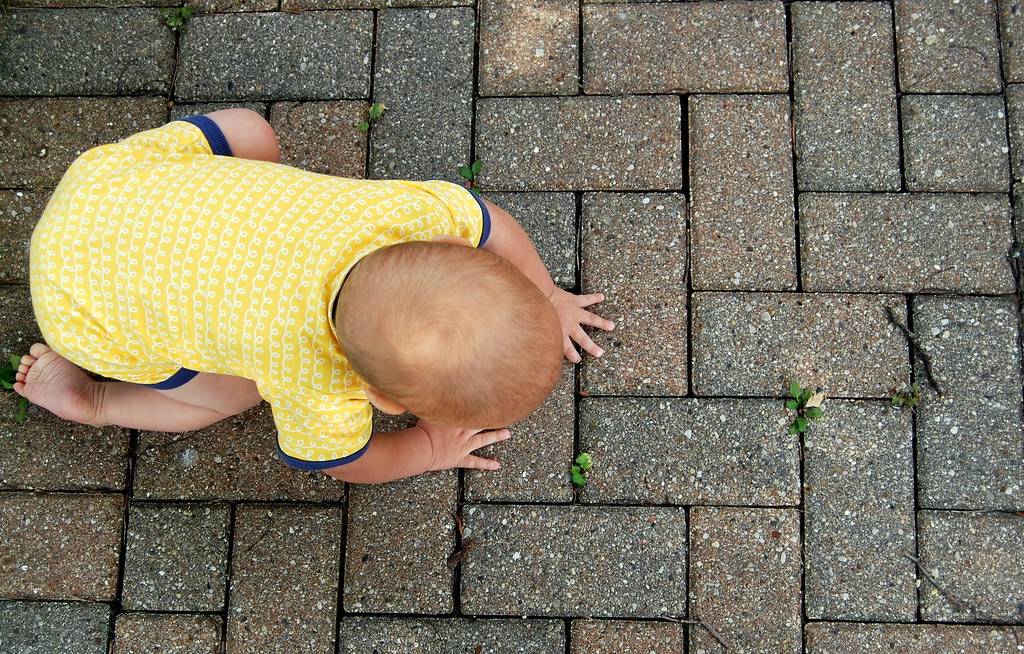
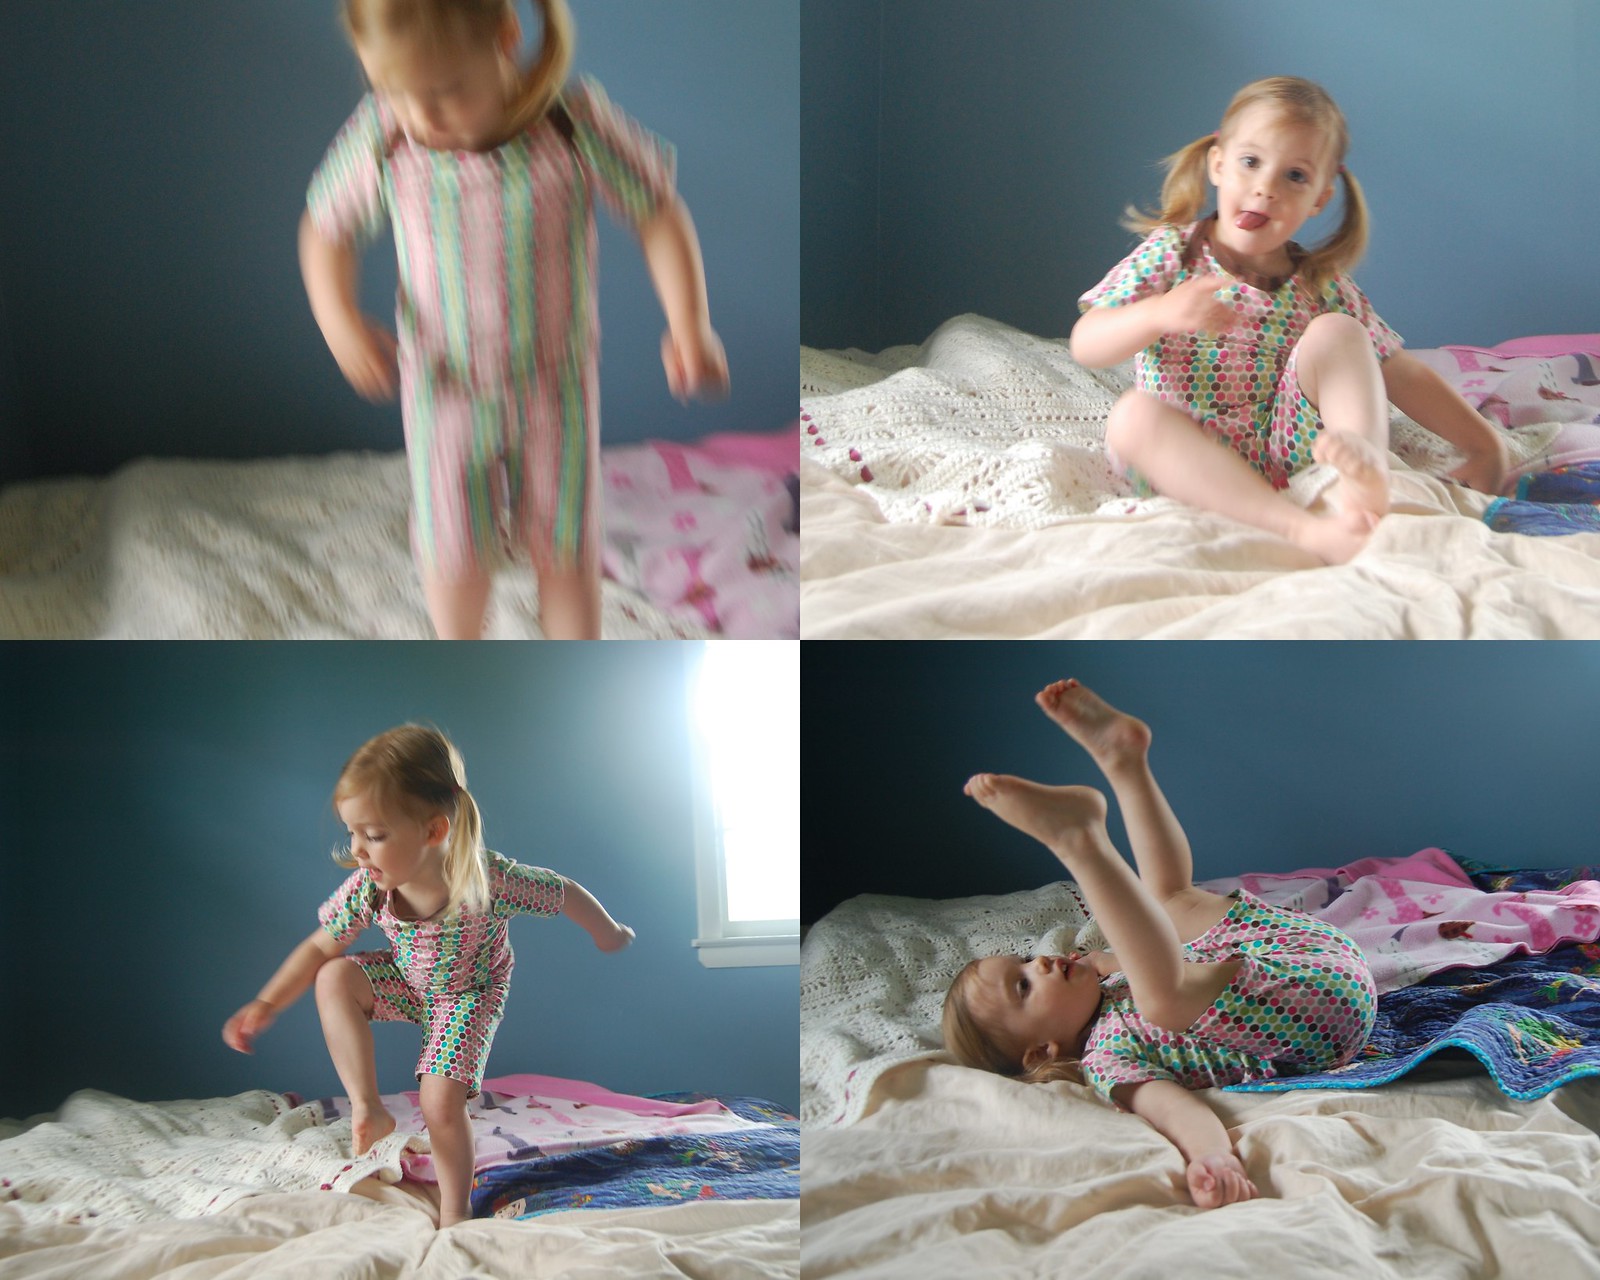
Adelaide already had the polka dot pajama shirt, but the matching pants are getting too small now. Luckily, I had leftover fabric...just enough for some shorts. These are the Sleeping Johns from Growing Up Sew Liberated, just shorter. I made them in a 4T so my little 3-year-old would have some room to grow.


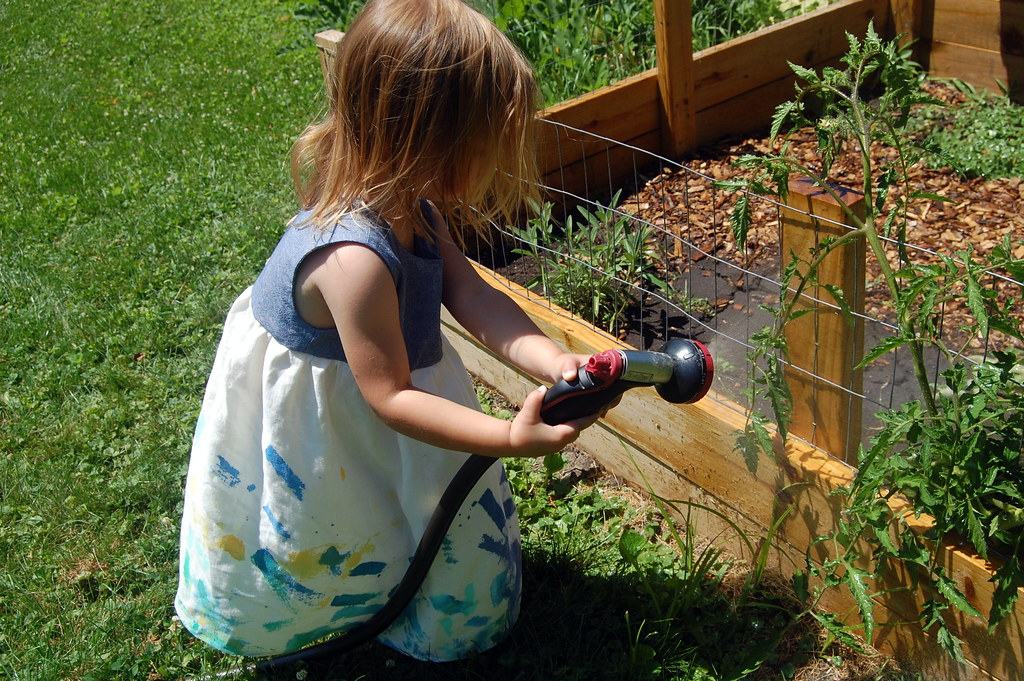
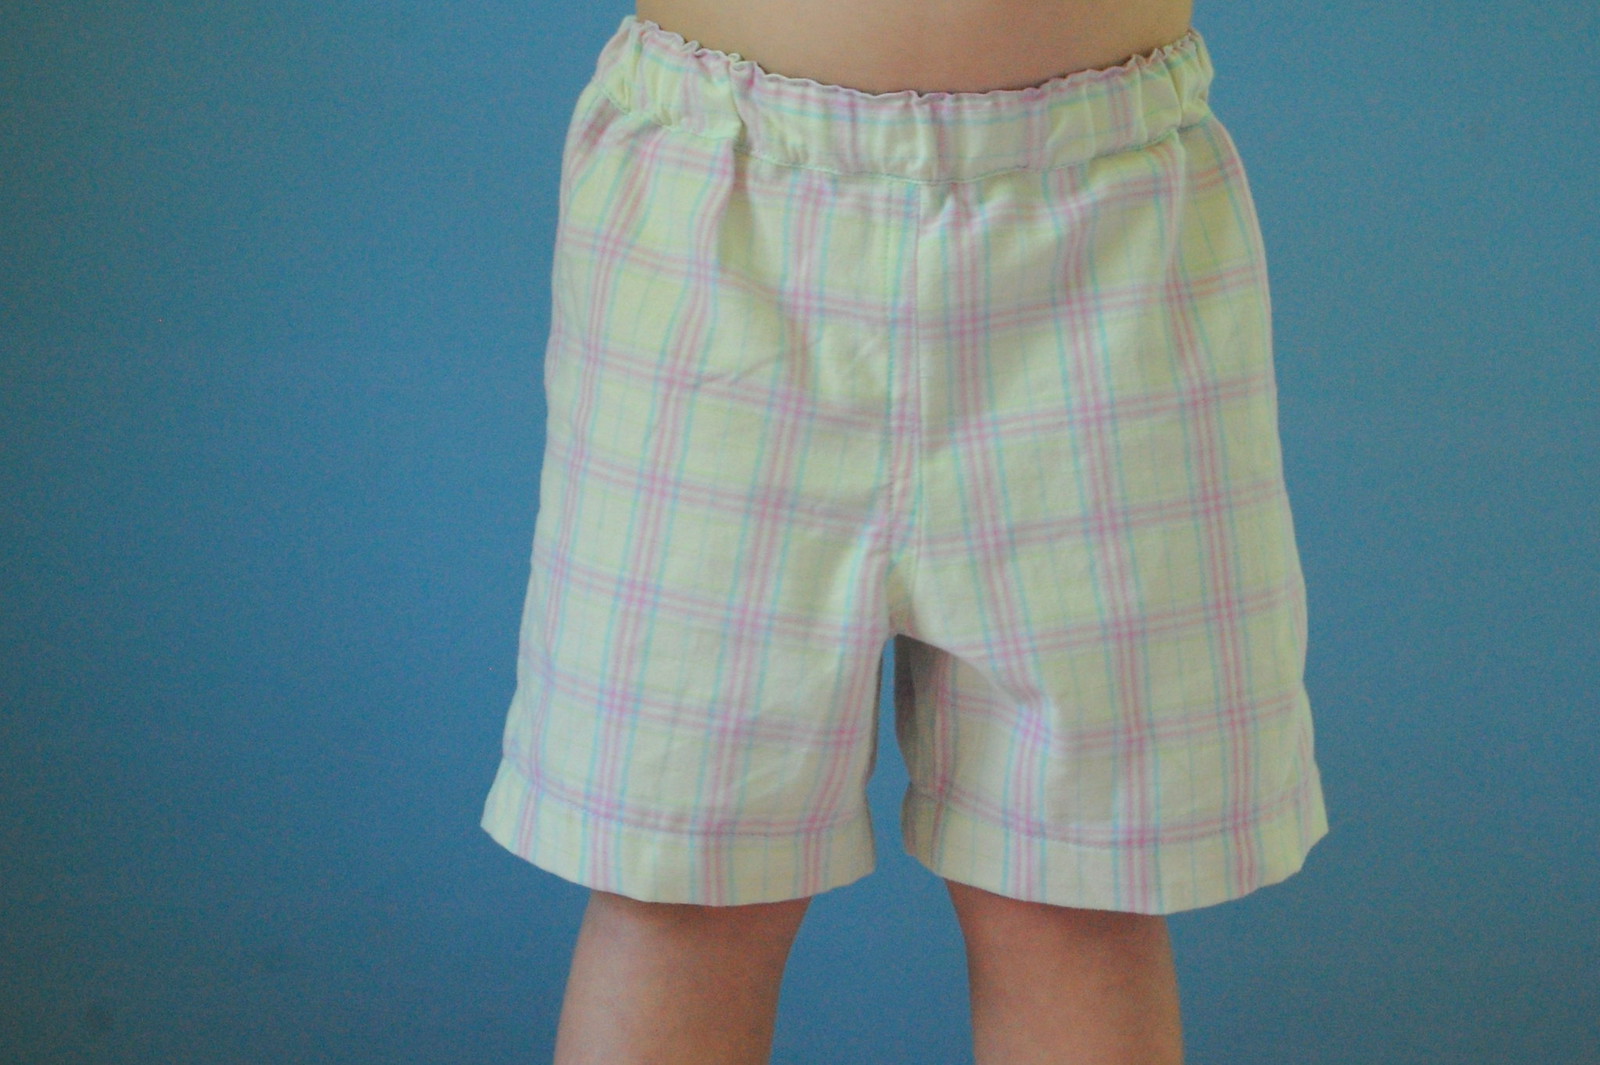
The green and pink shorts were made from some of my old (huge and falling apart at the waistband) pajama pants. I used the free Oliver + S Sunny Day Shorts pattern in a 4T. (Adelaide measured between the 2T and 3T, but for pajamas I wanted to err on the side of baggy. I think it was definitely the right choice here.) It was a super easy and quick pattern, and they look really comfortable. Oh, and let's talk useful stuff for a sec: flat felled seams. Not that difficult on something like this and makes the shorts so much more sturdy. It's a little extra step I'm glad I took.


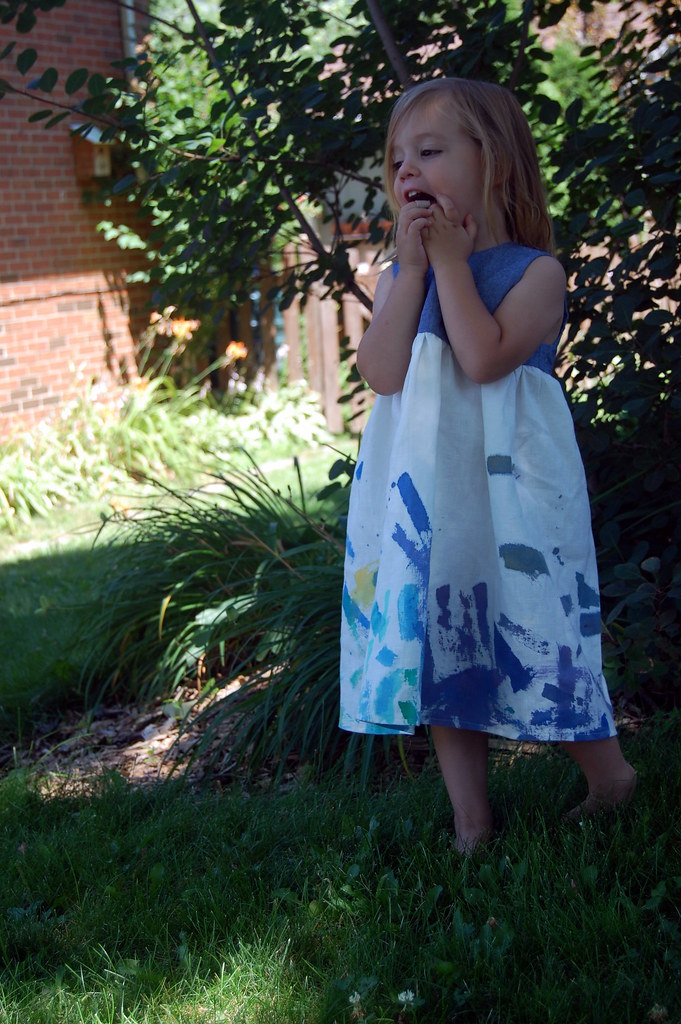
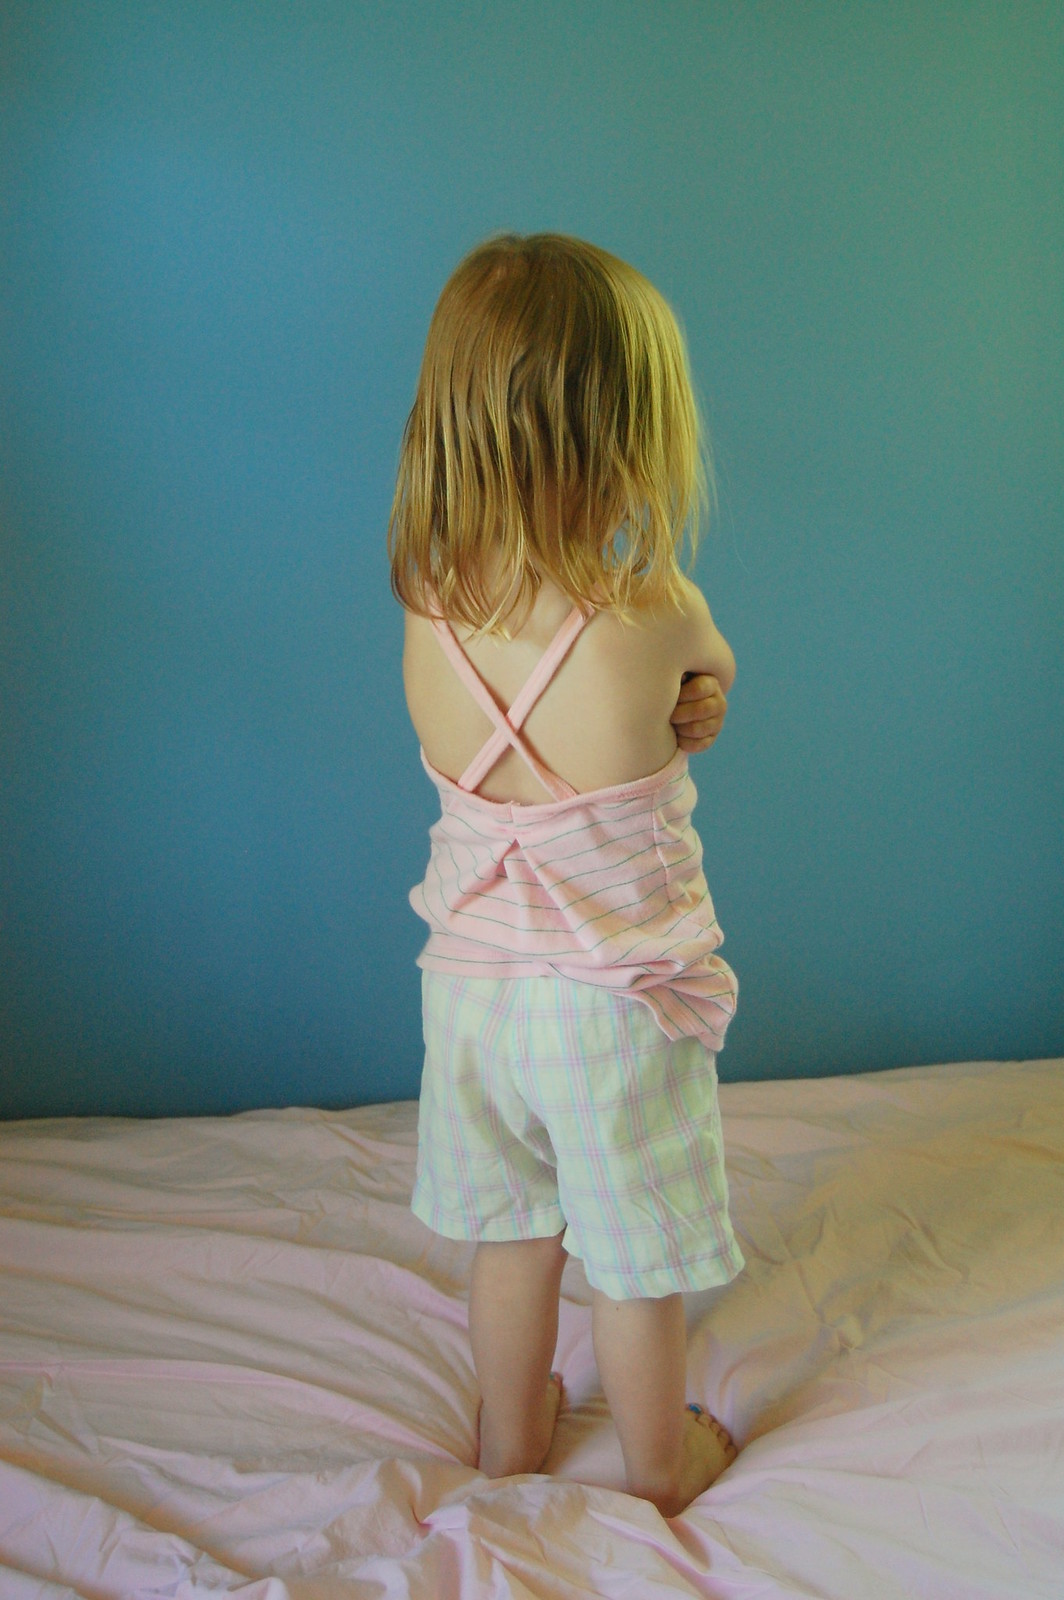
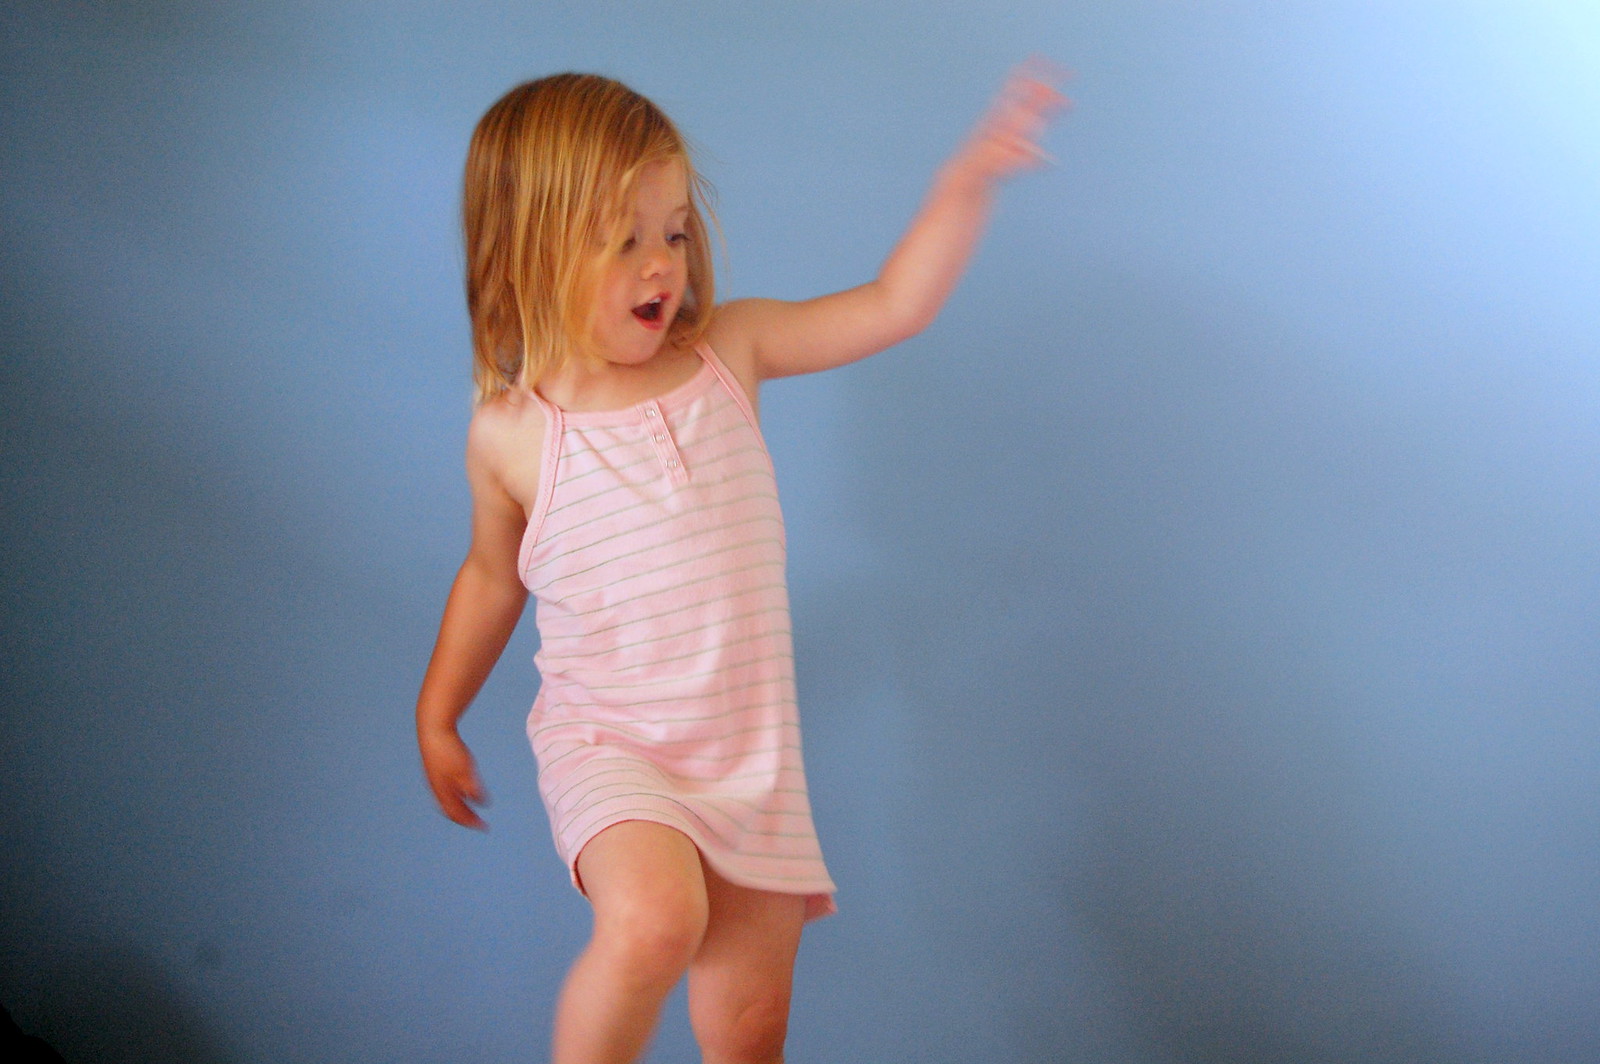
The pink shirt was just one of my old ill-fitting tops. I think I got it in high school and stopped wearing it about shortly post-college, but I held onto it hoping to re-purpose it one day. Only a decade and several moves later, that day has finally come. TOTALLY WORTH IT.


I took the seam ripper to the sides and some of the ribbing, then I redrafted the armholes and took the sides in (not quite enough, though). And then I reattached the ribbing I had undone and crossed the straps at the back. It was still too baggy, so I pinched a little pleat into the back. I didn't want to re-hem it, so it ended up really long. More of a nightgown. But that's cool, because why not?


Pajama sewing for the win.