

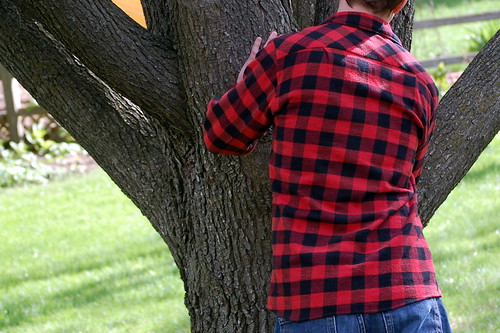
The shirt is Colette Patterns' Negroni (No. 1014). This was my first project with a pattern from Colette, and I just cannot say enough good things about this experience. I am so impressed.
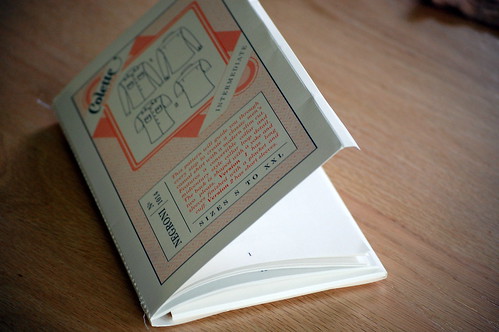
For starters, the pattern packaging and instruction booklet. Yeah, that's right, the instructions are in a booklet. Not some huge, annoying fold-out sheet that fits in the envelope with the pattern. The packaging is basically a booklet full of instructions with a pocket in the back for the pattern pieces. I think it is such an improvement over the fold-out sheet.
Then there are the instructions themselves. They are exceptionally clear and detailed, with good diagrams/drawings. There were a few times where I couldn't make sense in my head of the geometry or whatever of how something would work, so I followed the instructions blindly and was amazed to see how things came together perfectly. Seriously.

And then there's the level of attention to detail and finishing work. The pattern uses primarily flat-felled seams, and that is built in to the instructions step-by-step. The entire interior of the shirt is nicely finished, with no homemade-looking raw edges hanging around to spoil the show. Also, hallelujah, the sleeve plackets are not continuous lap plackets, which really annoy me.
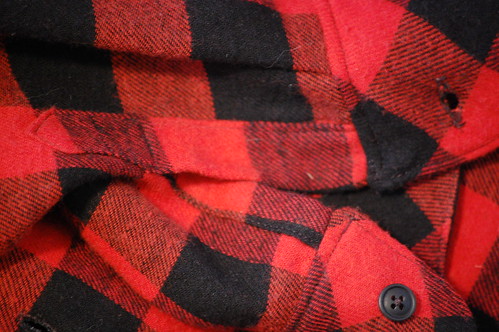
My only dislikes from this project are not the pattern's fault at all. First, I did not measure Adam's arm length properly and so had to shorten the sleeves from the wrist end after the placket sewing had been done rather than properly shortening the sleeve length on the pattern piece before cutting any fabric. But I don't think the shirt looks much worse for it, really. Second, the fabric does not seem to be of a very high quality and I don't think it's going to hold up as well as I'd like to regular use. But other than that, I'm very happy about this project, so yay!
7 comments:
Very RTW looking. Nice job.
Thank you! I hope to try it again soon(ish) with a more fun fabric!
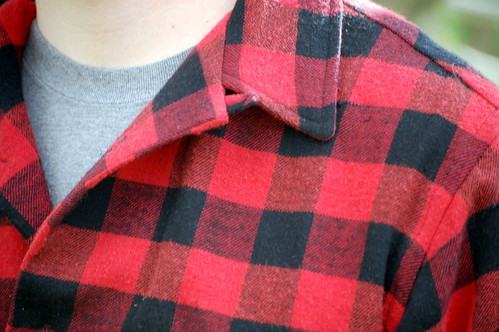
Adam's shirt came out beautiful, great work! (The fit is beautiful too). I am wondering how you fixed the undercollar piece, did you use a center seam and cut two halves?
Thanks, Annette!
And yes, that's how I solved my collar dilemma. I didn't even have enough fabric left to match the plaids on the two halves so it'd look like one piece, but he's not going to be wearing it with the collar popped, so I think we'll be okay! :)
This looks amazing! You did a great job! I am about to start on this shirt for my husband and as I was scanning over the directions I felt sort of freaked out! I've sewed a lot before, but for some reason all the plackets and all are kind of scarring me!!!
Thank you! It does look a bit intimidating at first, but it actually went very smoothly. The instructions are seriously fantastic, which makes a world of difference.
Your shirt came out fantastic looking. I'm totally inspired to sew one for my husband. I love it, especially in the red plaid.
Post a Comment