
Pattern: I started out with the basics of this tutorial, but I made quite a few changes and winged a lot of it, which I get into more below.

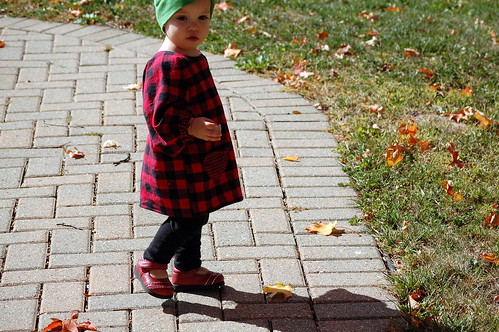
Fabric: The main buffalo check flannel is from JoAnn's, leftover from Adam's Negroni (this is where the "matchy-matchy" comes in...dada and kiddo matching shirts: swoon!). The flannel with the little checks is something I picked up from a thrift store ages ago.
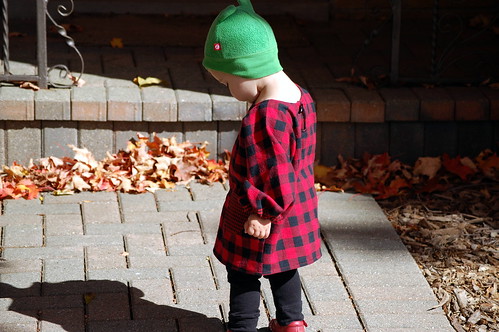
How it went down: So, I used one of Adelaide's t-shirts and followed the general tracing/cutting instructions here to get a dolman-sleeved tunic shape with a neck hole. Then I cut a neck hole facing piece, sewed it on, and top-stitched it down so it wouldn't flap around and be a pain. I sewed both sides/sleeves together, using flat-felled seams to avoid floppy, unraveling innards. (I learned how to do a flat-felled seam from Colette Patterns' awesome Negroni pattern instructions, but they also have a tutorial for it here on their blog.) And I hemmed the bottom.
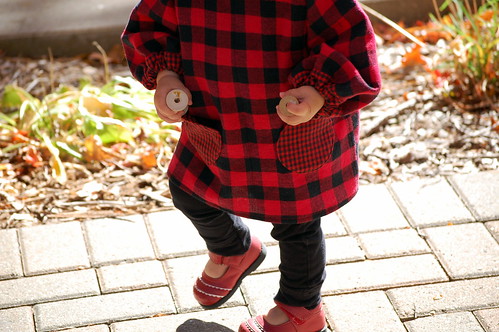
Then it was time for the fun stuff. Pockets! Sleeves! Neck closure! I started to type out some tips and such regarding how I did these parts, but it was making this post twenty feet long, so I decided to break it up. None of it was that difficult, really, but I figured I might as well share how I did it in case someone else could make use of it.
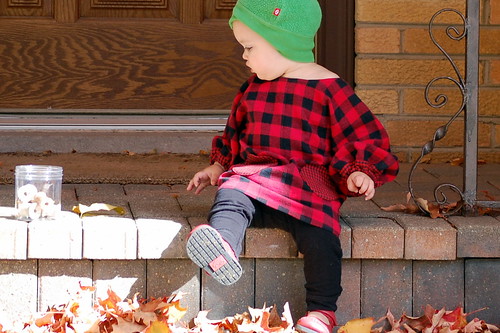
All in all, this was really easy and satisfying, even if it did take me longer than I thought it would. The only thing I'd go back and fix is the neck opening, which is a little too big, but I think she'll grow into it eventually.


2 comments:
Is it crazy I want a flannel dress for myself now!
Adorable! Love the use of the two similar checks.
Post a Comment