Showing posts with label stationery. Show all posts

Friday, December 7, 2012

Embossed holiday cards tutorial

Hey, remember when I used to have a blog?

In the interest of proving that I have not fallen off the face of the Earth, let me tell you about the holiday  cards I made last year. I would tell you about the holiday cards I made this year, but they do not yet (and may not ever) exist.
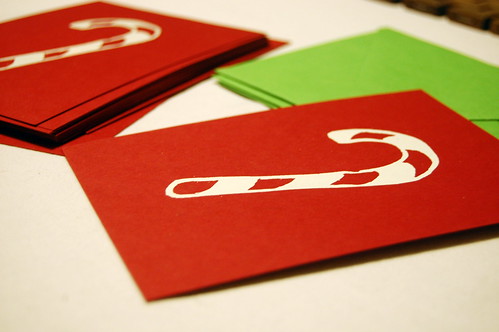
embossed holiday card tutorial

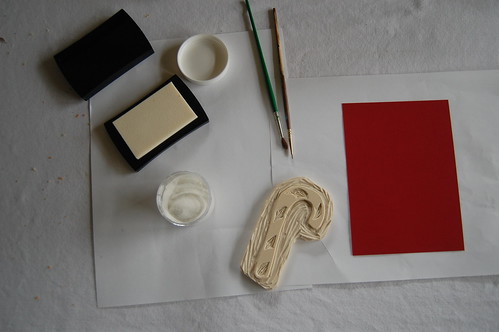
Materials and tools

  • Blank cards with coordinating envelopes (Mine were from Paper Source.)
  • Ink pad with clear/watermark ink (I used this one from Paper Source.)
  • Embossing powder (I used this white powder from Paper Source.)
  • Heat source (They make special tools for this, but I just used our toaster. It worked and it didn't cost an extra 20-something bucks.)
  • Rubber stamp (I carved my own.)
  • Small, soft-bristled paintbrush
  • Paint pen (I used a white Sharpie paint pen)
embossed holiday card tutorial
Making the cards

I am messy, so I started by covering the table with paper. I found that the most efficient method for me was to work on three or so cards in a batch, going through all the steps on those three and then starting over again on the next three.

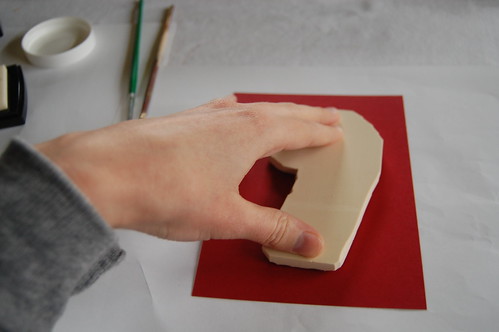
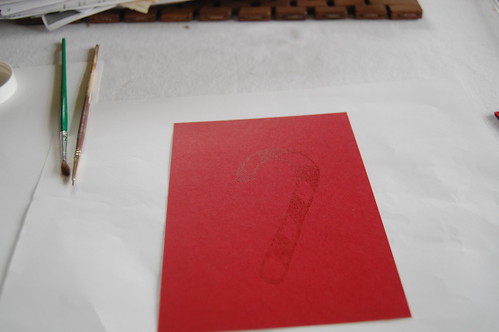
Lay out your cards face-up. Press your stamp firmly onto the ink pad. Carefully but firmly press the inked stamp onto the front of each card.
embossed holiday card tutorial

embossed holiday card tutorial

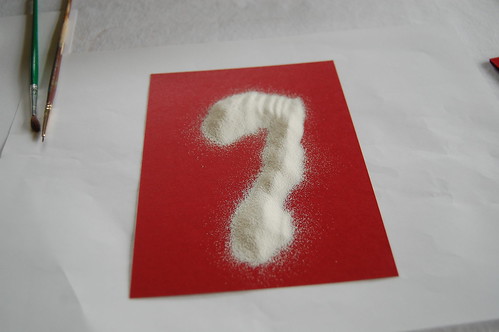
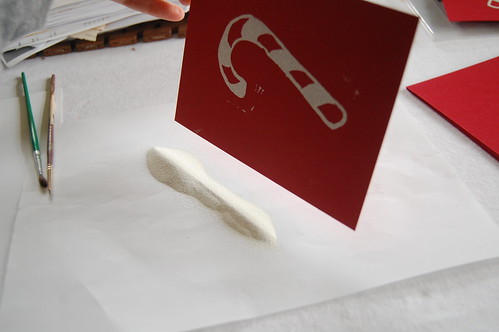
Sprinkle the embossing powder generously over the stamped area, making sure to cover the entire design. Then pick up the card and let the excess powder fall onto a piece of paper (you can reuse this powder on the remaining cards! otherwise you will go through it like crazy!). Tap the card gently to shake off even more of the excess powder. You should be able to see your design now, coated with the embossing powder.
embossed holiday card tutorial

embossed holiday card tutorial

If there are stray spots of embossing powder on the card, take the paintbrush and very carefully brush the stray spots away. But remember that perfection is not the goal: I think a few stray flecks here and there add to the homemade charm.
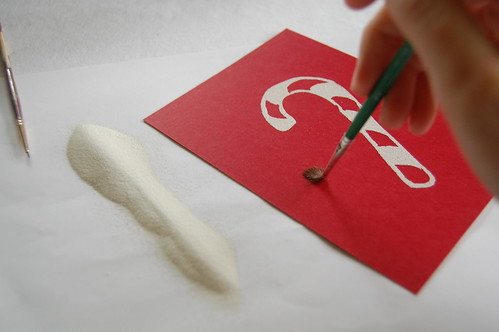
embossed holiday card tutorial

Now for the fun part: adding the heat! I gently set one card at a time on my toaster, rotating it a bit to make sure all the embossing powder melted evenly. Be careful with the rotating, because the card is going to get a bit hot (because, you know, that is the point). Obviously, using one of the special heating tools is probably safer and easier, but a toaster works in a pinch. Just really keep an eye on things. It only takes a few seconds to melt the powder, and you don't want your cards to catch on fire or anything. You'll know when it's done because the powder will melt and look all awesome and shiny and embossed.
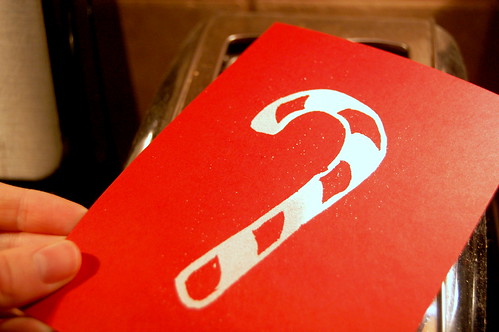
embossed holiday card tutorial

Carefully set the cards aside to cool.

When the cards are cool and the embossing is all set, use a paint pen to write your cheery holiday message on the back (or inside, if you do folding cards instead of flat cards).
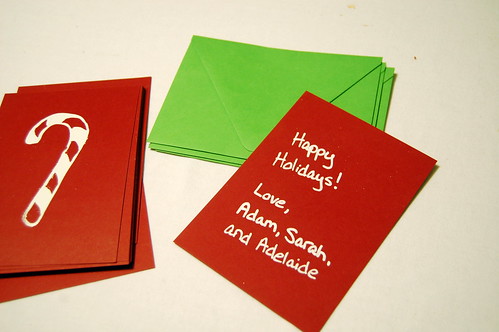
embossed holiday card tutorial

Admire your delightful handiwork. Eventually, tear your self away from the self-congratulatory party you are throwing in your head and send the cards off to your friends and relatives.

Tuesday, April 17, 2012

Hooray!

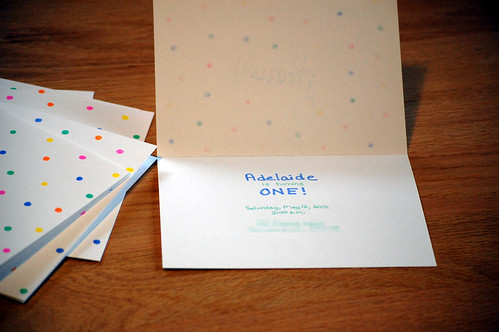
Adelaide's first birthday is coming up in about a month, which, of course, means it's almost party time!

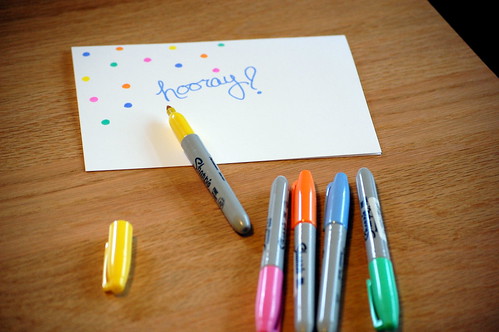
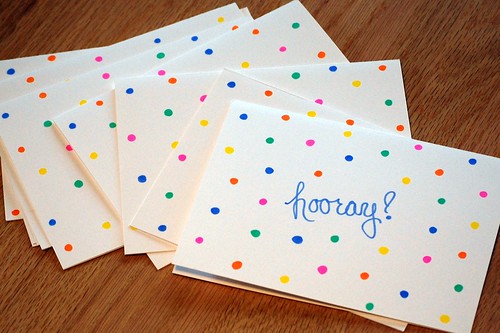
First up: invitations. I am very picky...well, sort of. I am picky in the way that means I couldn't find any invitations to buy that were just right. But apparently my level of pickiness allows me to make my own invitations using permanent markers. Because nothing says perfection like Sharpie scrawl.

hooray!

These were inspired by this "sixlet skirt" post on Wee Wonderfuls. I went to the art supply store with the intention of buying blank cards and some colorful stamp pads for pencil-eraser polka dotted invitations. Well, I didn't see any good stamp pads, but I did see a huge display of colorful Sharpies. How hard could it be to just draw some dots?

hooray!

Not very, it turns out.

hooray!

So that's good.

Added bonus: I can make Sharpie-drawn invitations on my lunch break at work. Hooray! indeed.

Friday, April 8, 2011

A fine assortment

My first Etsy purchase arrived yesterday. I can't believe it actually took me that long to buy something, what with having a huge "favorites" list that I started years ago. Why? Anyway...I bought some letterpress cards from Bumblebee Press to use as baby shower thank-you notes, and they are so cute! I am so happy with them, and so happy to have supported a small, crafty business. Hooray!

And now I'm on a bit of an Etsy kick, with a letterpress print for the baby's room already ordered and several prints for the kitchen and living room being strongly considered. And all the lovely wooden baby toys! I think I need to pace myself, though.

This weekend, much like last weekend and the weekend before it and the next weekend and so on, is looking pretty darn busy. There are lots of things, both baby- and non-baby-related to check off the to-do list in the next month. Some of it is really boring (such as many, many shopping trips to many, many places). But some of it is fun (sewing! cooking more food for the freezer! starting to get our hands dirty in the veggie garden!). So maybe that'll give me something to talk about other than my habits of consumption.

But for now, here's a list of stuff to check out. You're welcome.

House 8810 has lots of cute stuff that I want. Please. [via MADE]

Homemade Cadbury Creme Eggs. Pure awesome. If only I had time to try this in the near future. [via Craft]

I love the Muppets. And I love miniatures. So this is pretty much blowing my mind. [via Craft]

Wednesday, June 2, 2010

Of birthday cards and other stuff

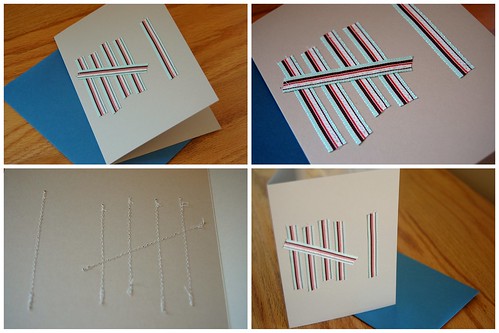
We spent Memorial Day weekend on our first roadtrip in the new car. We went down to Springfield to see my sister and visit some Lincoln sites. Then we spent some time with the in-laws and celebrated our niece's birthday. I made a card, because that is how I roll. Super easy and, I think, pretty darn cute. Just machine-stitch some ribbon to that thing and call it a day. Excellent.

birthday card

Also, on my Friday off, I spent a bit of time watching Julie and Julia (with the Netflix "watch instantly" thing...love that). Honestly, I was not that into the Julie parts. They weren't bad or anything, they just didn't catch my fancy. But I loved the Julia parts! Loved! And how great were the Valentine's Day postcards Julia and her husband sent out? So freakin' great. (See one here. Just click the small picture to enlarge it.)

Monday, March 15, 2010

Disjointed and mostly outdated ramblings

Did anyone else feel a bit smacked in the face by the clock change this weekend? We had to catch a train out to the suburbs early on Sunday morning, meaning I had to wake up at 6:45. On a weekend. The torture. But it was made worse by the fact that it wasn't until I had already been in bed for a bit that I jumped to my feet with a panicky "Oh my god! Daylight Savings Time!" as I realized that we would be getting even less sleep than originally anticipated. Bummer.

I was clearing out some folders on the laptop and found a couple of photos I meant to post but had forgotten (or decided not to use, maybe? I don't remember). But I've got nothing better for today, so here they are.

birthday card

This is a birthday card I made for my brother a couple of weeks ago. I like the silver paper I used for the cupcake wrapper, but the rest of it is kind of eh. I was reminded how much I really don't like using glue sticks because I cannot help but smudge and smear glue on stuff (my fingers, the tray I was working at, the wrong sides of the paper I'm trying to use...pretty much everything within reach, really). While looking for paper and a glue stick to use for this, I found some origami paper and instructions from ages ago (I think I was in middle school). I tried to make some stuff. It did not work out, so I did not take pictures. How do people get origami to work? Magic? Better instructions? Significantly more vast amounts of patience than I possess?

chocolate shortbread with cream cheese icing

And this is how I used up half a block of cream cheese that was hanging out in my fridge. I suppose it could have been used for a variety of necessary cooking activities--making something for us to eat for dinner, for one. But I was hell-bent on cream cheese icing. So I made some chocolate shortbread (from The America's Test Kitchen Family Baking Book, if I am remembering correctly, and I may not be), which was merely okay on its own, and the easiest cream cheese icing ever (half a block of cream cheese, a teaspoon of vanilla, and a bunch of confectioner's sugar to get it to the proper consistency). Lazy and delicious. That was a while ago, though, because lately my sugar fix has been coming from the Girl Scout Cookies.

Wow. Are you totally impressed with this post or what? I know. The organization and edification astound you. You are welcome.

Thursday, December 17, 2009

Cards!

I had a heck of a time trying to photograph these. Our apartment gets very little natural light, especially in the winter, especially during hours when I am not at the office. Sigh.

But, moving on ... Cards!

2009.12.17--Christmas cards-1.2

I decided to make our Christmas cards for the first time.

2009.12.17--Christmas cards-1.3

I drew up a little design, cut it out of some Christmasy fabric, and used spray adhesive to attach it to the cards. Then I used my handy-dandy alphabet stamps to print the message inside. It ended up being more time consuming than I had estimated.  And that adhesive has a wider spray radius than you might think. I'm pretty sure the odd grainy texture I recently noticed on the face of my mobile phone is a result of some adhesive overspray. Oops. But I declare it an overall success!

2009.12.17--Christmas cards-1.4

And! I have coordinating envelopes and labels! Woohoo!

Christmas cards

All the paper products (cards, envelopes, labels) are from Paper-Source. I love that place. All the sizes! All the colors! I was there for nearly an hour just picking out my four stinkin' items. The fabric is, I don't know, something from JoAnn.

In other holiday news, I'm still working on Christmas gifts. Should I be worried that I am not yet 50% finished with the making I hope to accomplish and have only one week in which to finish? Ah, well, soldier on.

Thursday, May 14, 2009

Stationery set

My little (yes, I can still say that even though he's a towering giant now) brother is graduating from university this weekend. And then he is heading into the wilderness way out in the western states, where there will be no phones.

Therefore, I am expecting letters. Sure, he'll have email, but that just isn't as cool. I mean, no form of communication is as completely awesome as real mail, you know?

So I got it into my head to make him some personalized stationery. By carving a stamp. Which I have never even tried before. And I decided to start this project with only two fairly busy after-work evenings of time to work on it. Yeah, that seems pretty well thought out.

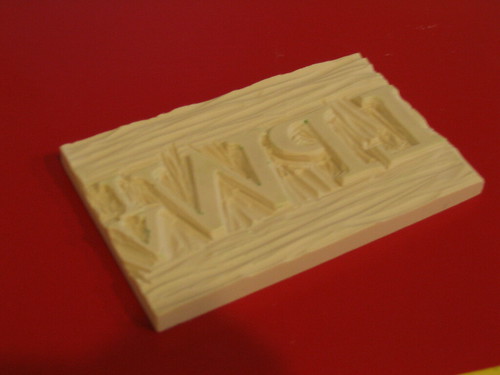
carved stamp

The carving went fairly smoothly, thank goodness. I didn't zing off any important chunks, I didn't injure myself, and I knocked it out on night number one. Sure, there are zero straight lines where there should properly have been many, but, hey, that's the beauty of a hand-carved stamp, right?

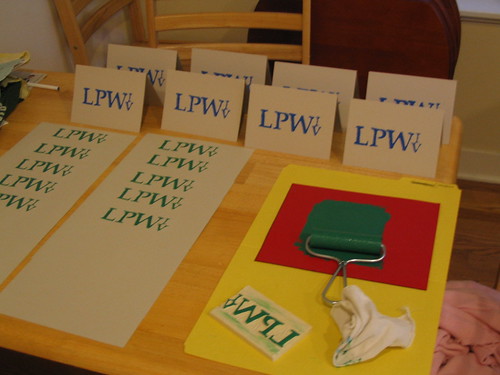
printing stationery

Amazingly enough, the printing went smoothly, too. Whew! Just roll out the ink, roll it onto the stamp, press the stamp to the paper, and carefully peel it off. Easy peasy.

finished stationery

And I'm pretty darn happy with the finished product, so yay! Unfortunately, I don't have a photo yet of the whole set (with semi-matching envelopes) all put together in its storage folder because the ink was still tacky at bedtime last night and there was no time for that before work this morning. But I'll snap a shot of the complete set before I give it away.

By the way, my reference guide for this project was Lena Corwin's Printing By Hand. Lovely and informative book out of which I hope to get more use soon.