Showing posts with label craft. Show all posts

Sunday, January 13, 2013

Sewing from December: felt food!

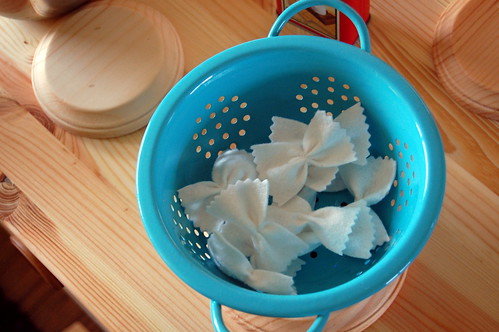
Adelaide received a play kitchen for Christmas this year, so, of course, I needed to make some felt food! I made a few things, but the farfalle turned out the best, I think.

Felt food

Just cut a few rectangles, trim the short edges with pinking shears, and scrunch and hand-sew the centers.  The little colander is something I picked up from World Market for $2 because I was there buying candy for our stockings and thought the pop of blue would be just so darn cute.

Felt food

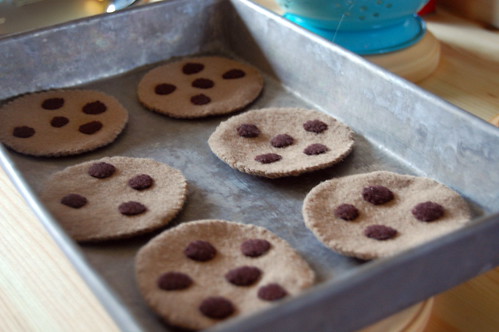
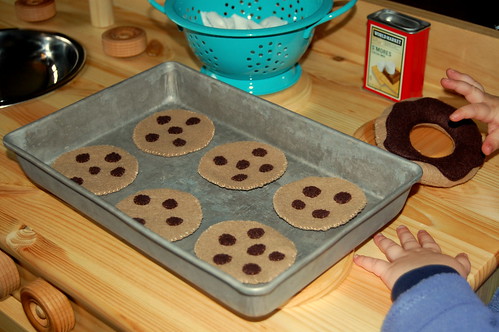
And, because our girl loves her cookies, I made some chocolate chip cookies. And yes, she did try to stick one in her mouth at first, before we had sufficiently gone over the "this is PRETEND food" concept. I didn't stuff them at all, so they're just flat, which I think works.

I also made some fried eggs, but for some reason I don't have any photos of those. Maybe someday.

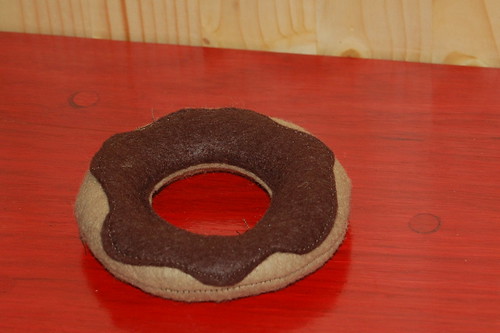
I consider the farfalle, the cookies, and the eggs my victories. Easy, but also pretty good looking. On the other hand: I also tried a doughnut. There were going to be multiple doughnuts, but I wasn't happy with the effort to results ratio on the first one, so I quit.

Felt food

The felt food  and the play kitchen are getting a lot of use so far (and even some good, lengthy independent play! pinch me!), so yay!

Felt food

Friday, December 7, 2012

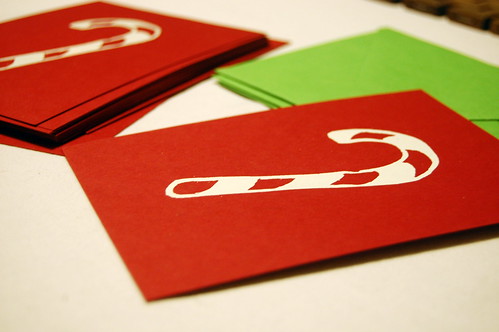
Embossed holiday cards tutorial

Hey, remember when I used to have a blog?

In the interest of proving that I have not fallen off the face of the Earth, let me tell you about the holiday  cards I made last year. I would tell you about the holiday cards I made this year, but they do not yet (and may not ever) exist.
embossed holiday card tutorial

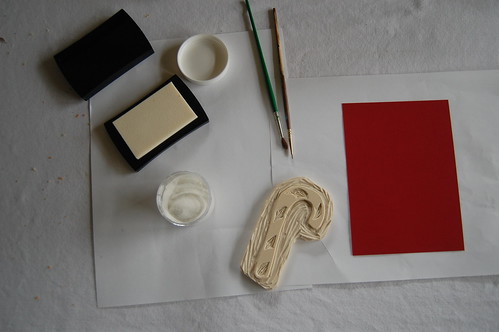
Materials and tools

  • Blank cards with coordinating envelopes (Mine were from Paper Source.)
  • Ink pad with clear/watermark ink (I used this one from Paper Source.)
  • Embossing powder (I used this white powder from Paper Source.)
  • Heat source (They make special tools for this, but I just used our toaster. It worked and it didn't cost an extra 20-something bucks.)
  • Rubber stamp (I carved my own.)
  • Small, soft-bristled paintbrush
  • Paint pen (I used a white Sharpie paint pen)
embossed holiday card tutorial
Making the cards

I am messy, so I started by covering the table with paper. I found that the most efficient method for me was to work on three or so cards in a batch, going through all the steps on those three and then starting over again on the next three.

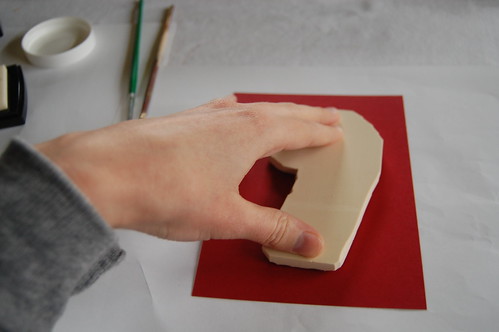
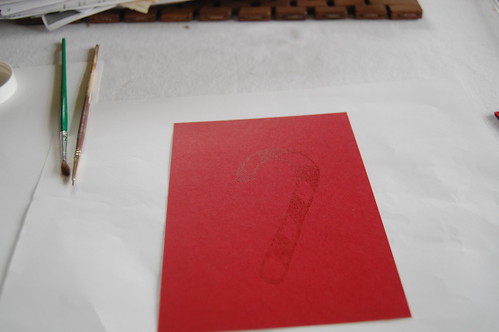
Lay out your cards face-up. Press your stamp firmly onto the ink pad. Carefully but firmly press the inked stamp onto the front of each card.
embossed holiday card tutorial

embossed holiday card tutorial

Sprinkle the embossing powder generously over the stamped area, making sure to cover the entire design. Then pick up the card and let the excess powder fall onto a piece of paper (you can reuse this powder on the remaining cards! otherwise you will go through it like crazy!). Tap the card gently to shake off even more of the excess powder. You should be able to see your design now, coated with the embossing powder.
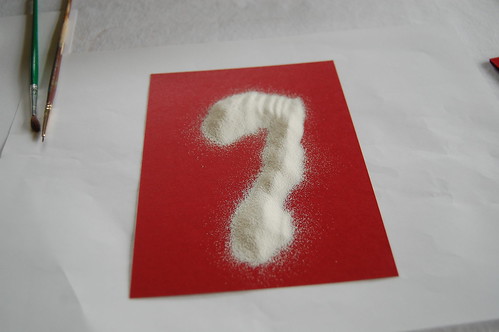
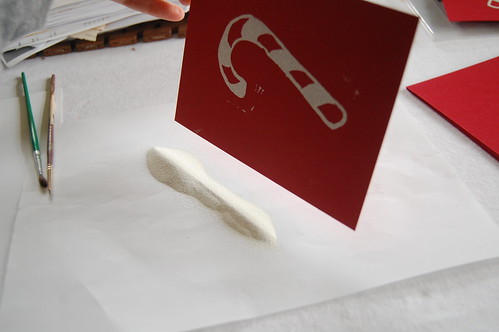
embossed holiday card tutorial

embossed holiday card tutorial

If there are stray spots of embossing powder on the card, take the paintbrush and very carefully brush the stray spots away. But remember that perfection is not the goal: I think a few stray flecks here and there add to the homemade charm.
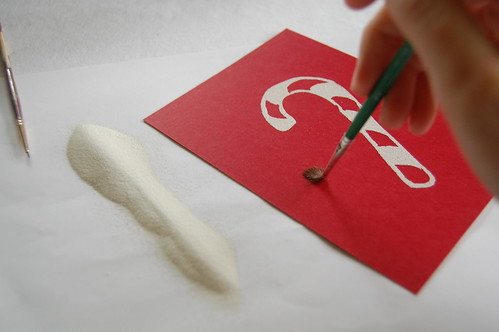
embossed holiday card tutorial

Now for the fun part: adding the heat! I gently set one card at a time on my toaster, rotating it a bit to make sure all the embossing powder melted evenly. Be careful with the rotating, because the card is going to get a bit hot (because, you know, that is the point). Obviously, using one of the special heating tools is probably safer and easier, but a toaster works in a pinch. Just really keep an eye on things. It only takes a few seconds to melt the powder, and you don't want your cards to catch on fire or anything. You'll know when it's done because the powder will melt and look all awesome and shiny and embossed.
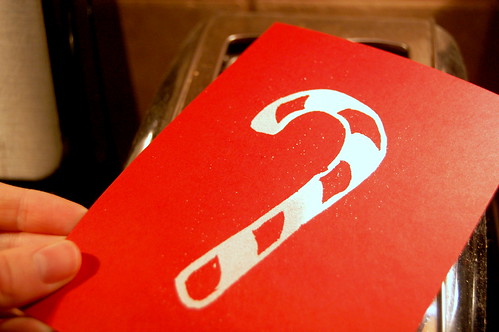
embossed holiday card tutorial

Carefully set the cards aside to cool.

When the cards are cool and the embossing is all set, use a paint pen to write your cheery holiday message on the back (or inside, if you do folding cards instead of flat cards).
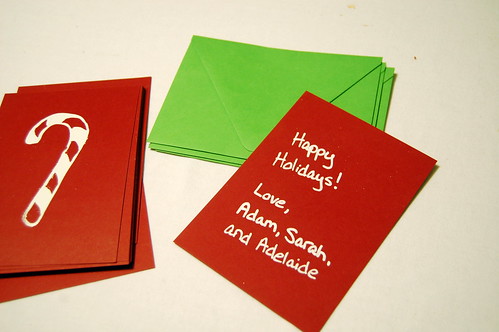
embossed holiday card tutorial

Admire your delightful handiwork. Eventually, tear your self away from the self-congratulatory party you are throwing in your head and send the cards off to your friends and relatives.
Tuesday, April 17, 2012

Hooray!

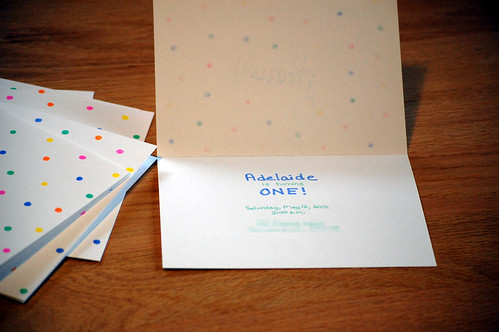
Adelaide's first birthday is coming up in about a month, which, of course, means it's almost party time!

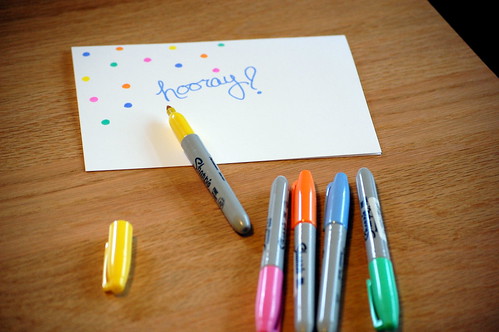
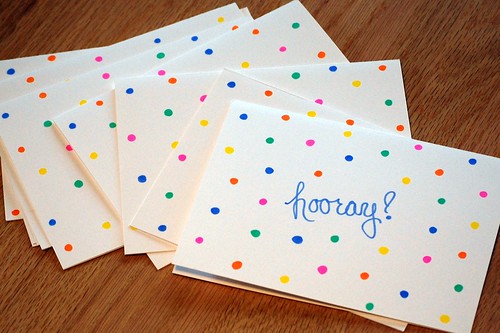
First up: invitations. I am very picky...well, sort of. I am picky in the way that means I couldn't find any invitations to buy that were just right. But apparently my level of pickiness allows me to make my own invitations using permanent markers. Because nothing says perfection like Sharpie scrawl.

hooray!

These were inspired by this "sixlet skirt" post on Wee Wonderfuls. I went to the art supply store with the intention of buying blank cards and some colorful stamp pads for pencil-eraser polka dotted invitations. Well, I didn't see any good stamp pads, but I did see a huge display of colorful Sharpies. How hard could it be to just draw some dots?

hooray!

Not very, it turns out.

hooray!

So that's good.

Added bonus: I can make Sharpie-drawn invitations on my lunch break at work. Hooray! indeed.

Wednesday, April 11, 2012

Easter

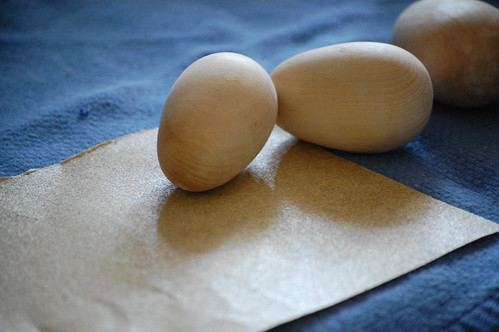
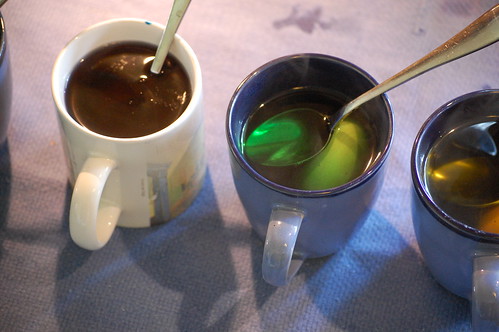
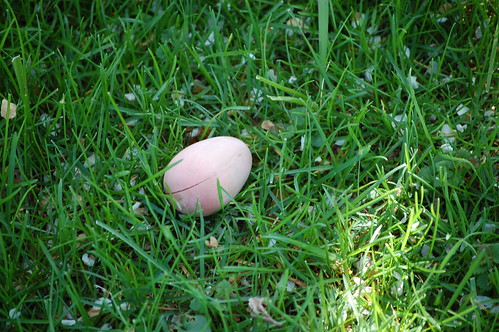
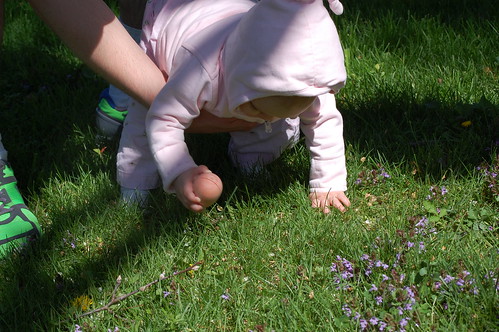
Adelaide is too little to "get" the egg hunt, of course, be we wanted to do one anyway. I tried staining wood eggs with food coloring, but it didn't really work out. They colored eventually (it took ages), but they also cracked (what with the sitting in liquid for ages and all), which means they are no longer baby-toy acceptable. Oh well. Next year I'll start trying to figure it out earlier.

DSC_1262

DSC_1266

DSC_1402

DSC_1407

Wednesday, June 2, 2010

Of birthday cards and other stuff

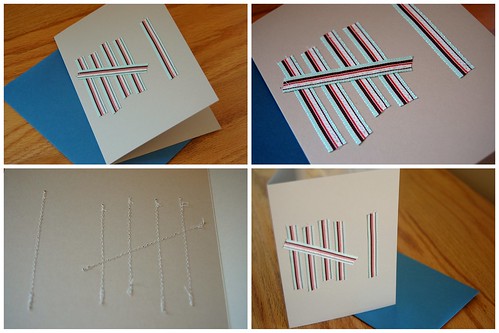
We spent Memorial Day weekend on our first roadtrip in the new car. We went down to Springfield to see my sister and visit some Lincoln sites. Then we spent some time with the in-laws and celebrated our niece's birthday. I made a card, because that is how I roll. Super easy and, I think, pretty darn cute. Just machine-stitch some ribbon to that thing and call it a day. Excellent.
birthday card

Also, on my Friday off, I spent a bit of time watching Julie and Julia (with the Netflix "watch instantly" thing...love that). Honestly, I was not that into the Julie parts. They weren't bad or anything, they just didn't catch my fancy. But I loved the Julia parts! Loved! And how great were the Valentine's Day postcards Julia and her husband sent out? So freakin' great. (See one here. Just click the small picture to enlarge it.)

Monday, February 22, 2010

Papercutting and a story about cake

Yesterday was Adam's birthday! Happy birthday, darling!

2010.02.21--Goodnight papercutting for Adam-1.1

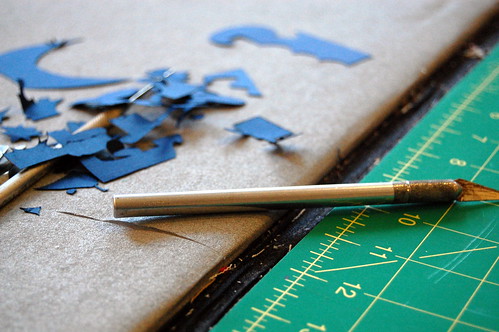
Here's the gift I was hinting about last week: a special papercutting project! This is really the first papercutting piece I've done, and I'm quite pleased with how it turned out. Though I did discover that I need a better knife for next time!

20100215--goodnight papercut-13

I may have mentioned this before, but every year I try to make Adam a birthday cake. He loves chocolate cake with chocolate frosting, so that's what I do. And every year the cake has been an epic failure. I mean, I will eat nearly anything with sugar and/or chocolate in it, and even I have not been able to eat some of these cakes. I haven't been able to figure it out, though I suspect that at least part of the problem has been overbaking.

Anyway, this was going to be year number six (I think...that seems right) of my chocolate cake attempts, and if it didn't work out, I was ready to finally give up and start buying his cakes from a local bakery or something. Because, seriously, how many times can a girl force her husband to eat really bad cake on his birthday just because she has a crazy thing about baking cakes from scratch?

So this year I decided to avoid the recipes in all my fancy-pants cookbooks and go with a more populist cake: the recipe on the Hershey's cocoa box, also available on the website. (I just saw this morning that Angry Chicken posted a link to this recipe over the weekend, too. If only I'd had her recommendation earlier, I could have saved myself years of heartache!) Hallelujah, we have a winner! It wasn't dry! It tasted good! Adam voluntarily had a second slice, and I didn't even prod him in that direction! Success is mine!

2010.02.21--Hershey's chocolate cake for Adam-1.3

I also used Hershey's recipe for frosting (again, available on the cocoa box or on the website, on the same page as the cake recipe). It was pretty good, but maybe a little too sweet. I'll probably stick with this cake recipe in the future, but I might mix it up on the frosting front.

Monday, February 15, 2010

More hot pads

Another Monday off work. Wow, I love that.

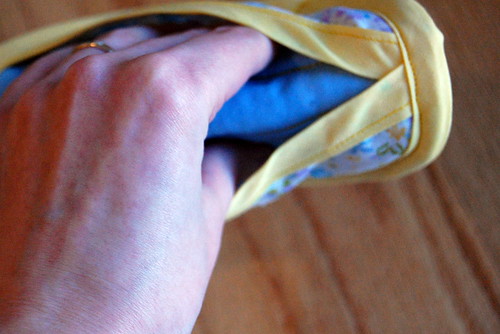
I made more hot pads. Now with finger pockets!

modified hot pad

Someone over on Flickr gave me the idea to try these with finger pockets on the back. It's a fairly easy modification. Pretty much just cut another full circle instead of a middle piece and don't quilt down the side pieces.

modified hot pad

Kind of cool.

But most of the afternoon was spent working on a little project for Adam's birthday. Since he reads this sometimes, it'll have to be super-secret until next weekend, though. Well, semi-super-secret. Here's a hint.

WIP

Thursday, January 14, 2010

Homemade gifts, part V

Okay, I promise that this is the last one of these Christmas updates...

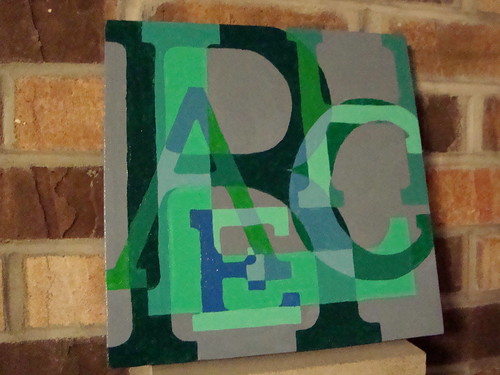
For my sister Rachel, a painting.

name painting for Rachel

I made one of these for myself years ago and have made several more since then. I think they're really fun to make because half the work is just mixing up different pretty colors, which I love.

I just draw out the name freehand with a pencil directly onto the blank canvas. Then I do the background color, saving some of the color I've mixed for any touch-ups that might be needed at the end. Then it's letter-painting fun time!

I use acrylic paints, which dry really quickly, so this is an easy project to get done in half a day or so. And did I mention fun?

These are the first two I did (one for me, one for my other sister). Mine is pretty sloppy! I've done a couple for my nieces that I really like, but you'll have to take my word on their awesomeness. I know you believe me.

Saturday, January 9, 2010

Homemade gifts, part IV

For Adam, I tried to learn a new crafty skill.

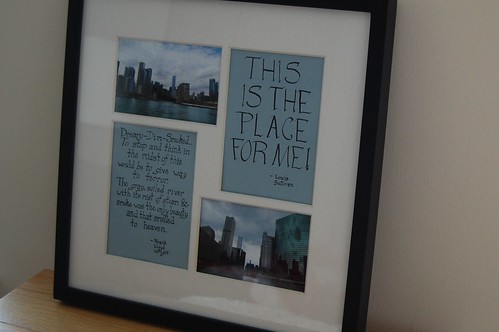
quotes and photos

He has liked these Chicago-centric quotes (by Frank Lloyd Wright and Louis Sullivan) since he came across them and liked the idea of having them on the wall.

quotes and photos

So I decided to try my hand at some calligraphy. I picked out two photos Adam had taken of the city (while on our boat tour) and some paper to match. Then I tried a million times to write the quotes out, thought I'd finally nailed it, then realized the 5" x7" photo spaces I was planning to stick the quotes in were actually only 4.5" x 6.5", so I had to do it all over again. And while this probably doesn't qualify as calligraphy proper, it is at least semi-fancy, semi-pretty writing.

Thursday, December 17, 2009

Cards!

I had a heck of a time trying to photograph these. Our apartment gets very little natural light, especially in the winter, especially during hours when I am not at the office. Sigh.

But, moving on ... Cards!

2009.12.17--Christmas cards-1.2

I decided to make our Christmas cards for the first time.

2009.12.17--Christmas cards-1.3

I drew up a little design, cut it out of some Christmasy fabric, and used spray adhesive to attach it to the cards. Then I used my handy-dandy alphabet stamps to print the message inside. It ended up being more time consuming than I had estimated.  And that adhesive has a wider spray radius than you might think. I'm pretty sure the odd grainy texture I recently noticed on the face of my mobile phone is a result of some adhesive overspray. Oops. But I declare it an overall success!

2009.12.17--Christmas cards-1.4

And! I have coordinating envelopes and labels! Woohoo!

Christmas cards

All the paper products (cards, envelopes, labels) are from Paper-Source. I love that place. All the sizes! All the colors! I was there for nearly an hour just picking out my four stinkin' items. The fabric is, I don't know, something from JoAnn.

In other holiday news, I'm still working on Christmas gifts. Should I be worried that I am not yet 50% finished with the making I hope to accomplish and have only one week in which to finish? Ah, well, soldier on.

Thursday, November 5, 2009

Bits and pieces

I have been sewing Adam's shirt, but I don't have anything to show for it yet. And I've been cooking, but it hasn't been anything new. So I will present you with some other stuff.

The Bureau of Communication is supercool [found via the link in Angry Chicken's sidebar]. I am a sucker for official-looking forms as a method of communication. I really want some stationery in the same mold.

I want to take up knitting, but I don't think I'll find the time to start until after the holidays. If ever. I've been saying that I want to take up knitting for at least two years now and have managed to make zero moves in that direction.

And after seeing this I want to make my own wood buttons! So cool! I love it when people make stuff that I usually think of as things you have to buy. Buttons fall into this category for me. Oh yeah, and the brown sugar I want to make but still haven't. Must get on that.

And I want to make homemade Twix bars. I bought mini Twix and Snickers to hand out on Halloween, but no kids came around, so we ate them all. Which reminded me that Twix are awesome. And it's just some cookie, some caramel, and some chocolate, which should be doable, right? Not that I'll get to it any time in the near future (see above regarding knitting and brown sugar).

And that's all I've got. I know this post totally violates the "must have photo!" rule of craft/food/sewing/etc. blogs everywhere, but that's how I roll. Rules were made to be broken*. Rebel, rebel.

*I actually hate that phrase because no, they weren't. Which is not to say that they shouldn't be broken. But enough. The end.

Saturday, August 15, 2009

Freezer paper stencils

A few days ago was our anniversary (3 years!) and I made Adam this T-shirt as a little gift (it is a college basketball thing). I love decorating shirts with freezer paper stencils. It is so easy.

T-shirt for Adam

1. Print or draw design on the paper side (as opposed to plastic-coated side) of some freezer paper.

2. Use a utility knife to carefully cut out design.

3. Lay out T-shirt with a piece of cardboard between the layers of fabric to keep the paint from bleeding through.

4. Position the freezer paper stencil on the T-shirt, plastic-coated side down, and iron it. Use the hottest setting appropriate for your fabric and make sure the stencil is stuck securely to the shirt all around the edges of the design.

5. Using a medium or large brush, stipple your fabric paint all over the stencil until it looks completely opaque.

6. Let the paint dry completely and then carefully peel the stencil off the T-shirt.

7. Heat set the paint by ironing on the reverse side of the fabric. I like to put a piece of cardboard between the shirt's layers again just in case I missed a damp spot in the paint or something.

Thursday, May 14, 2009

Stationery set

My little (yes, I can still say that even though he's a towering giant now) brother is graduating from university this weekend. And then he is heading into the wilderness way out in the western states, where there will be no phones.

Therefore, I am expecting letters. Sure, he'll have email, but that just isn't as cool. I mean, no form of communication is as completely awesome as real mail, you know?

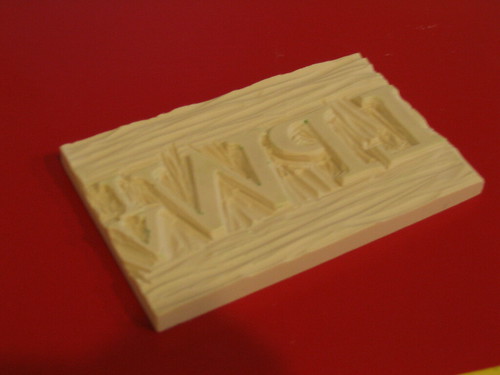
So I got it into my head to make him some personalized stationery. By carving a stamp. Which I have never even tried before. And I decided to start this project with only two fairly busy after-work evenings of time to work on it. Yeah, that seems pretty well thought out.

carved stamp

The carving went fairly smoothly, thank goodness. I didn't zing off any important chunks, I didn't injure myself, and I knocked it out on night number one. Sure, there are zero straight lines where there should properly have been many, but, hey, that's the beauty of a hand-carved stamp, right?

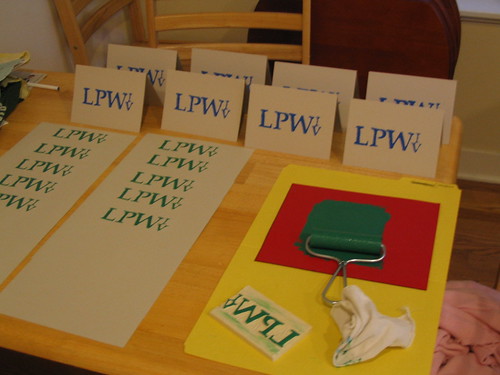
printing stationery

Amazingly enough, the printing went smoothly, too. Whew! Just roll out the ink, roll it onto the stamp, press the stamp to the paper, and carefully peel it off. Easy peasy.

finished stationery

And I'm pretty darn happy with the finished product, so yay! Unfortunately, I don't have a photo yet of the whole set (with semi-matching envelopes) all put together in its storage folder because the ink was still tacky at bedtime last night and there was no time for that before work this morning. But I'll snap a shot of the complete set before I give it away.

By the way, my reference guide for this project was Lena Corwin's Printing By Hand. Lovely and informative book out of which I hope to get more use soon.